Promade Lash Extensions: A Quick Guide for Newbie Lash Artists
Who else doesn’t look for volume lashes? We guess every woman does! No wonder the lash salons are booming now in Australia. And, if you are new to the lash industry and not expert enough at providing volume to lash extensions or taking a long application time, promade fan lashes should be your top choice for clients! It won't just help you save time but leave your clients happy with the perfect lash application just in seconds.
If it’s your first time, here’s the guide to help you with promade lash extensions. Let’s get started!
What Are Promade Lashes?
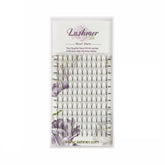
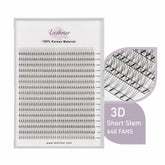
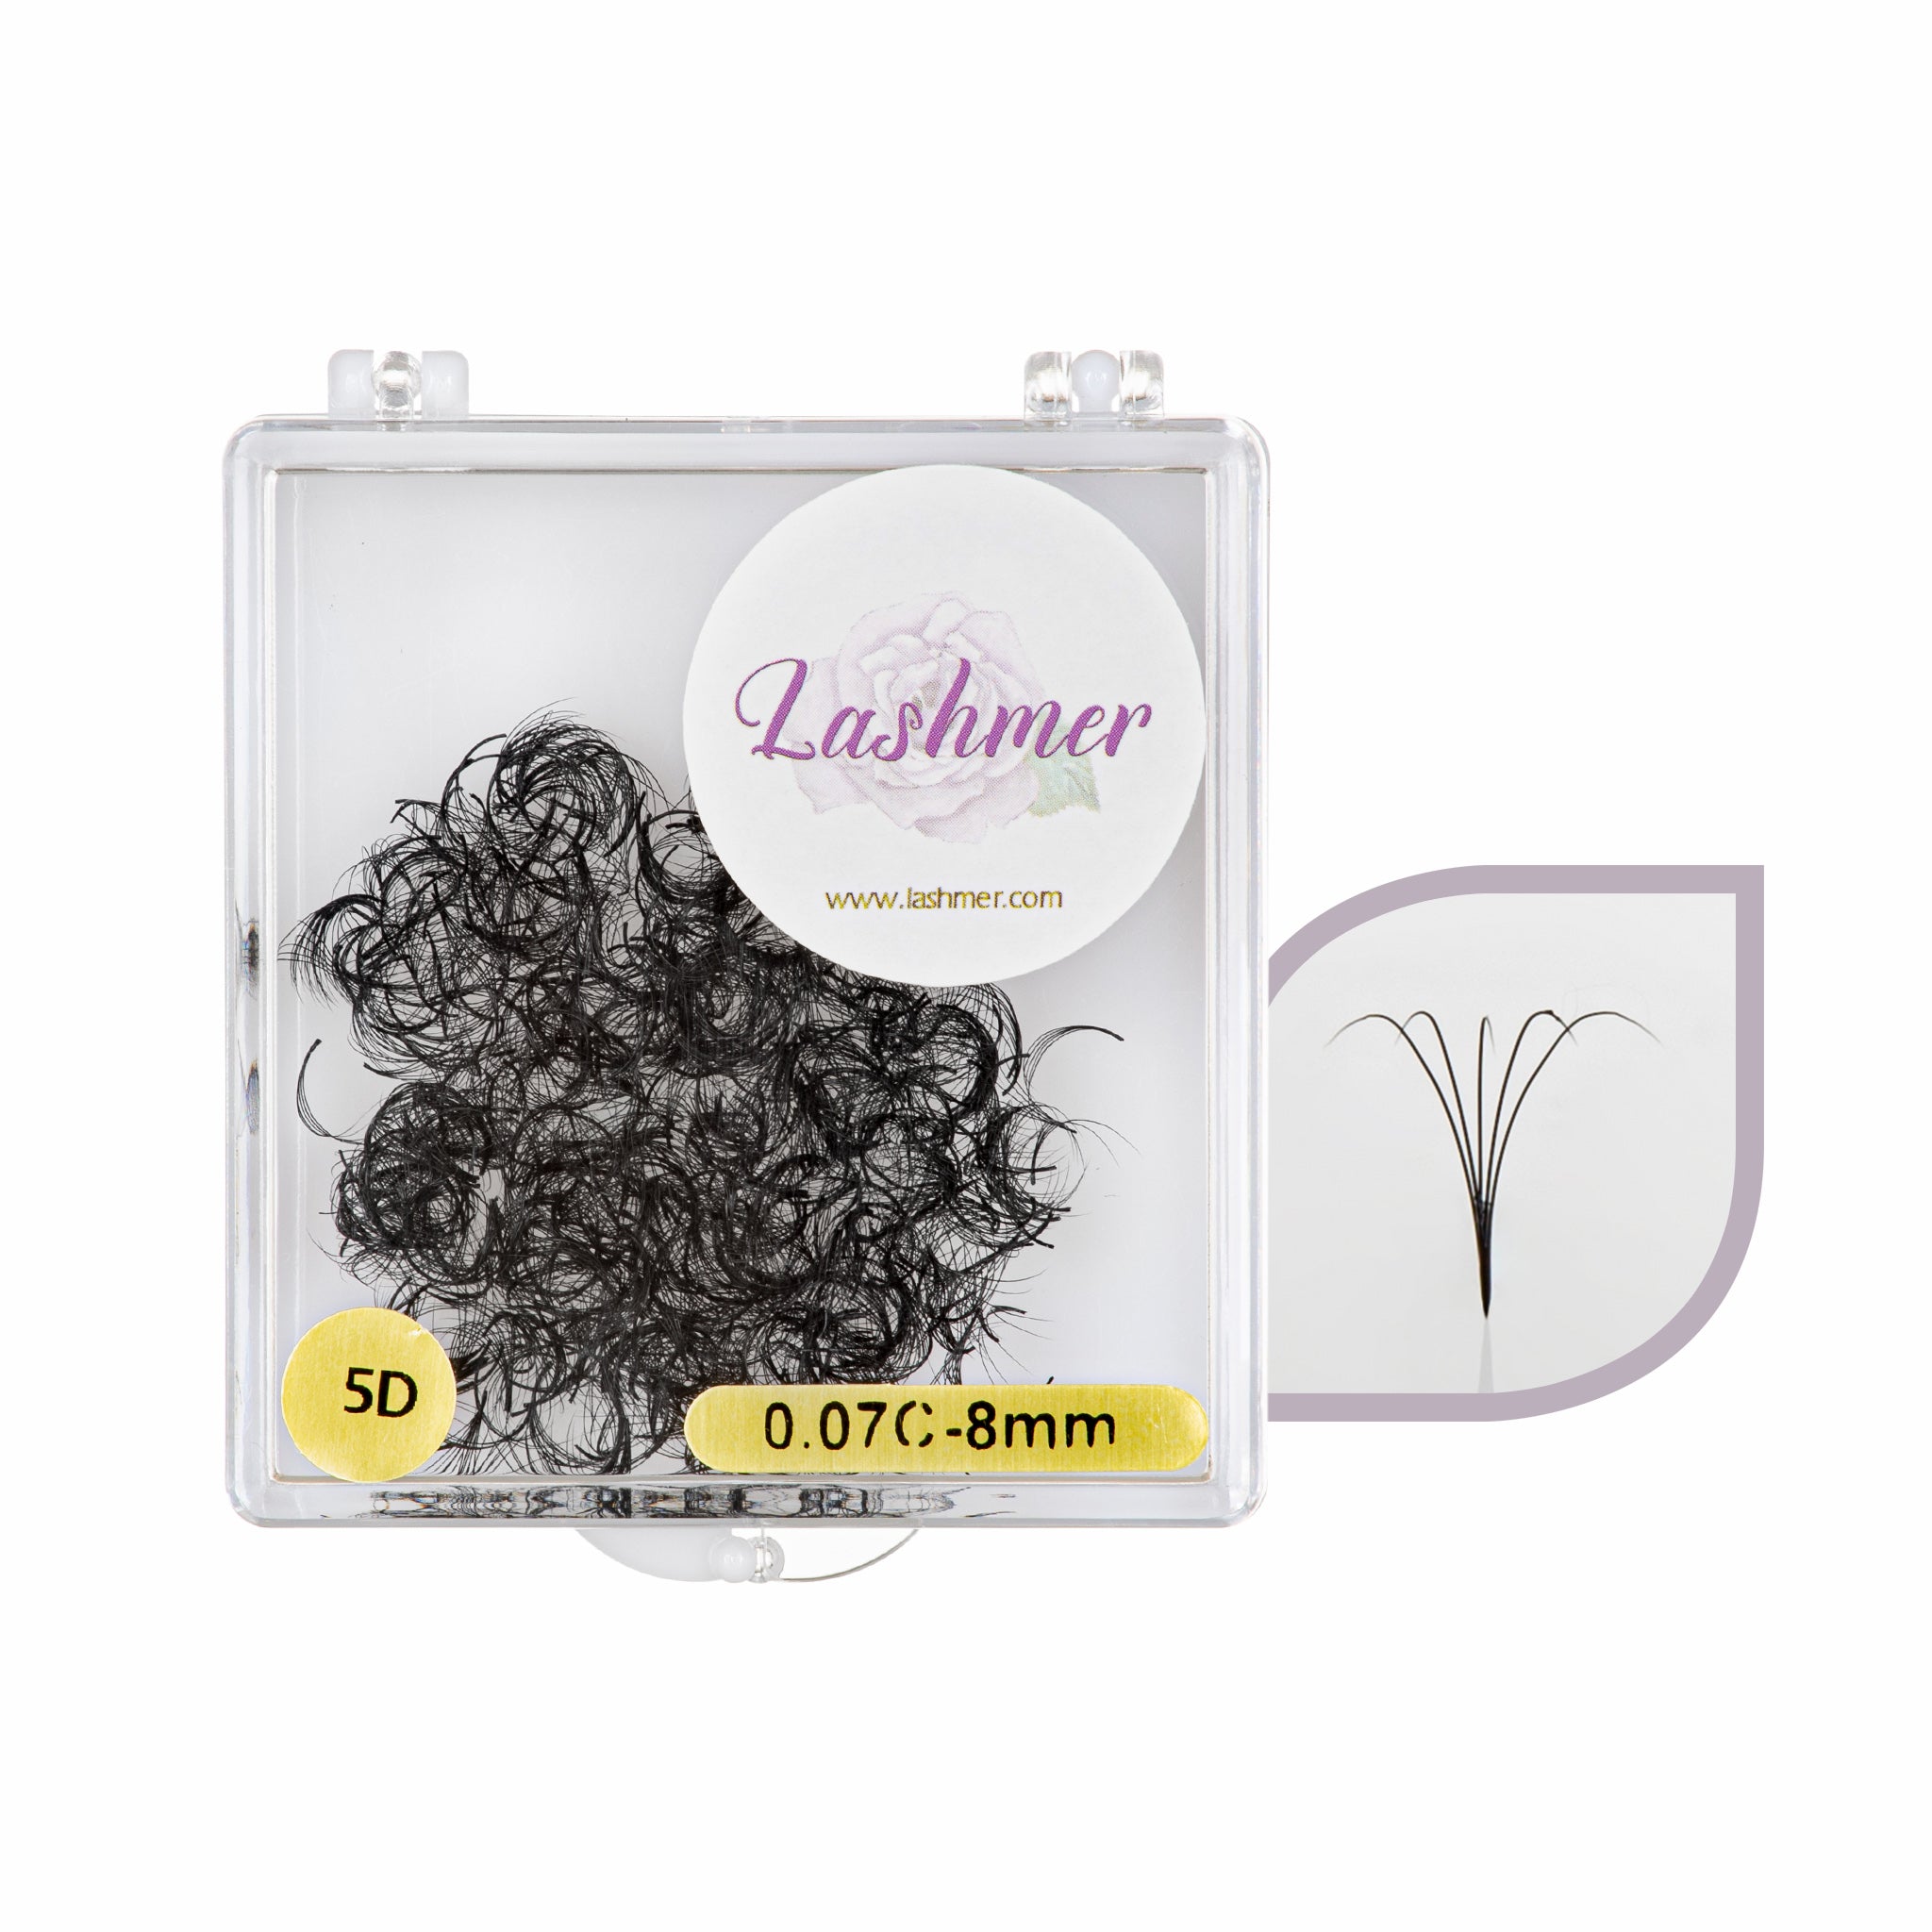
Promade lashes are hand-made lash fans, which are soft, super dark and easy to apply. There’s no machine used here! These lashes withstand daily wear and tear due to their heat-bonded feature, making them durable and long-lasting while strikingly stunning. Also, these promade volume lash fans have no split root, ensuring a flawless and natural look.
Isn’t that great? After all, your clients deserve the best every time they visit you!
Note: Before the application, make sure you ensure the extension length, diameter and dimension of each lash.
How to Apply Promade Fans
Now, let’s come to the application! As mentioned earlier, promade fans are easy to apply in seconds, even for newbie lash artists, but if done correctly. To ensure the lashes last, know the right way to apply them. For example:
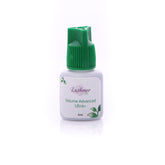
Step 1: Dip your promade lash fans into the glue drop used for the extension.
Step 2: The lashes must feel smooth while wrapping in glue, not dabbed in it, watery or slippery.
Step 3: Try to pick the point of contact between the promade fans and natural lashes and make the most use of it.

In the case of using loose promade fans for your clients, the method is a little different. For instance:
Step 1: Take a silicone pad to place the loose lashes on top of it and separate them with tweezers.
Step 2: Once you have separated all the fans, organise them in line to reduce the application time. It’s best to do it before your client arrives to stay prepared ahead of time.
Step 3: Take a small amount of adhesive glue on your palette and coat the fans about 2 mm.
Step 4: Separate the natural lashes and apply the promade lashes, leaving the required gap (1-2 mm).
Step 5: Again, coat the promade fans on natural lashes to create stunning volume lashes exactly what your client desires.
Tip: Make sure you hold the fans by their stem just before where the adhesive strip ends, and remove the lashes from the bottom instead of the top.
How and Where to Place Promade Lash Fans
Once you understand how to apply promade fans, it’s time to learn how to place them. Always leave a gap of 1 to 2 mm from the lash line to give your clients the best results. Or else it may cause irritation, redness and discomfort if placed on the eye’s skin. And, if the glue you are using comes with a slow drying time, make sure you grab the extension correctly in place so the fans don’t slide into the eye line.
Note: When attaching the promade lashes, always keep isolation from natural lashes.
In Conclusion
If you haven’t mastered quick lash applications, promade volume lash fans are the best to pick. It won’t just cut down the application time but give the perfect precision to the lash extensions that will satisfy your clients and make them visit your salon every time.
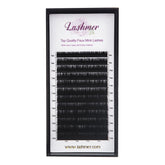
Looking for loose promade fans or lash sets for your lash salon? Browse amazing collections at Lashmer! We are offering 100% cruelty-free and vegan Korean material for promade lashes in Australia, which is super dark and soft, available in C and D curls with various lengths and diameters from 5D to 12D volume. Each lash fan is hand-made and simple to apply just in seconds.
Shop now!